


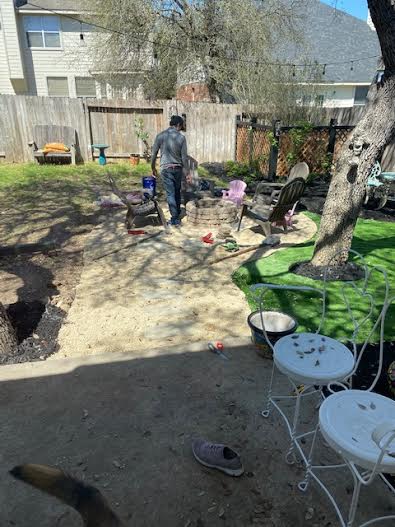
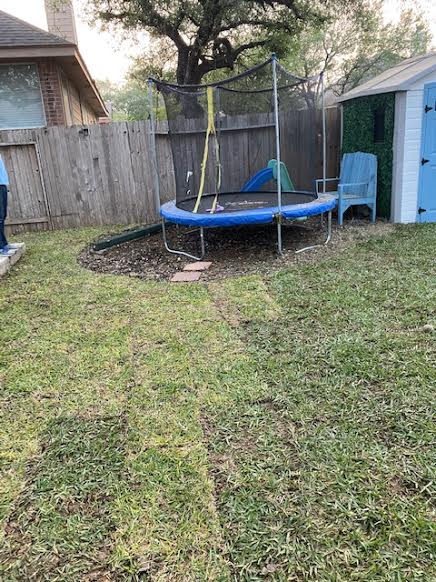
If you’ve been following my posts you know we moved into a new house in June 2020. When looking for houses, my goals were more space, a place to work, and a place for visitors (haha, that’s funny…visitors. in a pandemic). The backyard was not on my list. At all. I suppose in the back of my mind I knew we needed a yard because we have dogs, but it wasn’t a priority. So, it should come as no surprise that we purchased a house with lots of space, a home office, and a guest room—and a very sad, ugly, and muddy backyard. Let’s just say the listing photos were heavily photoshopped.
My husband and I have always enjoyed sitting outside and hanging out with the kids and dogs, and at our last house we had a huge yard and a covered, concrete slab. We missed that space. Also, with snowpocalypse behind us, the weather was gorgeous, and we wanted to enjoy it. So, I did what any rational person would do, and I ordered a significant amount of supplies from Home Depot without telling my husband, had it delivered to our house and placed where my husband parks so he couldn’t get in the driveway, and was therefore forced to make my dreams a reality and revamp the backyard (I mean, I helped).

How could we make this gross mud pit less…gross? Without breaking the bank? Equipped with some Pinterest inspiration, we got to work. It took about six-ish weeks, but the final product was well worth the time and money, and we’ve spent a significant amount of time outside since then. So, if you’re looking for a little design inspiration to jazz up your yard—keep reading! The following projects made a huge difference in our yard…
1. Define your space with barriers and mulch
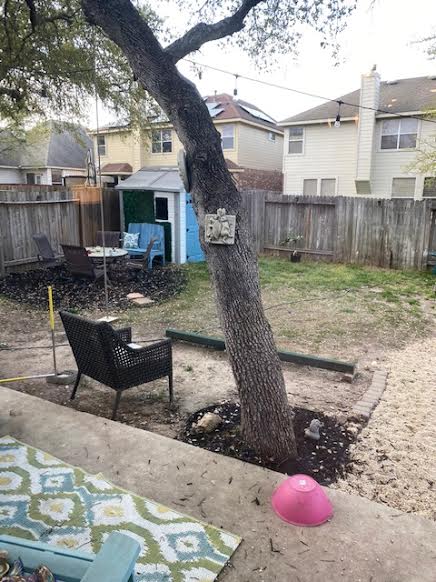
The first thing we did when we started updating the backyard was add mulch. We had a few areas that were already separated from the “grass” (re: mud) from the previous owners, so we added mulch to make these areas POP! This immediately made a big impact. We went from all the areas in the yard blending in together to clearly-defined garden spaces. Plus, at about $1.50/bag—adding mulch is a no-brainer!
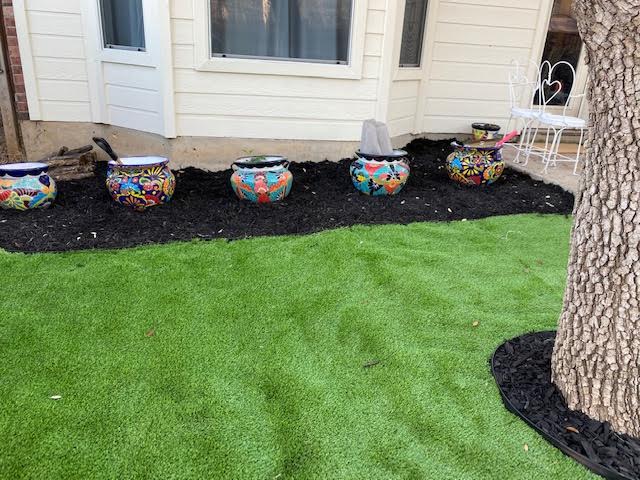
We’ve had these fun planters for YEARS. We have a dead zone toward the back of our yard so I decided to put all the planters there with some shade plants. Here it is after mulch.
We got our mulch from Home Depot. You can purchase the mulch we got from here and here.
2. Consider a variety of materials
When we first started this process we initially thought we wanted to add sod to the entire yard. That quote came in a little higher than we were comfortable with spending, so we decided to look at other options. My neighbor purchased turf on Amazon for about $150 and it looks AWESOME, so I kept that in mind. I’d also seen these super cute gravel fire pit areas, so we began to map out the yard by what material we thought would work.
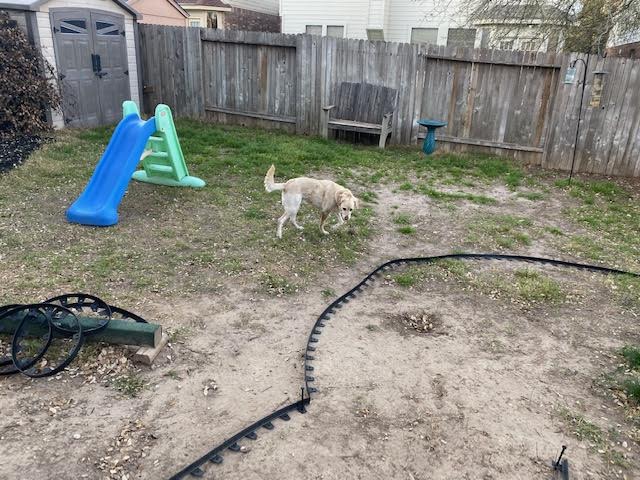
I got this plastic edging to help map out and plan spaces in the yard. I probably rearranged this 5-6 times before we ended up with the final plan, but it was so helpful to be able to visualize where we wanted to put everything. Also, hey Crockett (that’s our dog)!
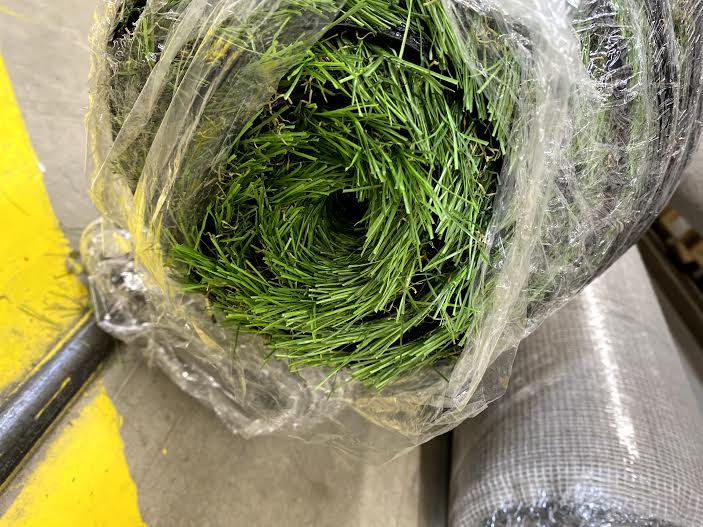
As luck would have it, on one of about 3 million trips to Home Depot, my husband found a roll of turf laying on the ground. A store clerk advised it was a return, and that they don’t usually keep the turf in stock. It was a weird shape, but was perfect for the spot we needed. Best part? Since it was already cut we got 25% off! BOOM – turf portion of the yard complete for about $250.00. We decided this would be perfect for a mud-free play section for the kiddos.

Mud-free play area, check and check!
Circling back to the fire pit, I found a design I loved on Pinterest. How hard could it be? I’d already mapped my space. Note: you need a lot more pea gravel than you think you do, and it would have been much more economical to go to a dirt or gravel place as opposed to purchasing way too many bags of gravel. But live and learn. This project was one of the easiest we did for the biggest impact. It doesn’t hurt that our next door neighbor is a project manager and helped project manage my four-year-old into leveling the gravel.
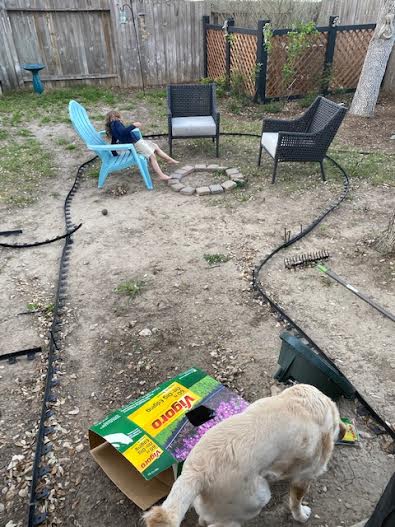
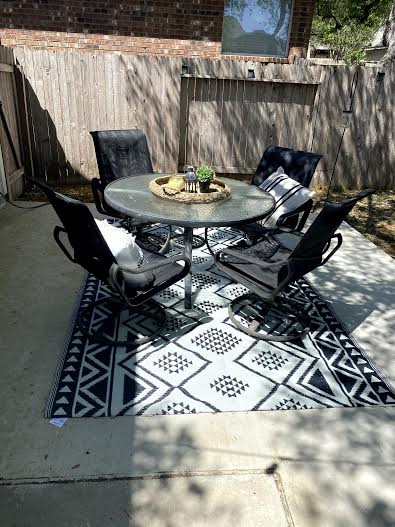
I was concerned I wouldn’t have enough space for chairs, so I put our current patio chairs in the yard and adjusted the barrier accordingly. Thank goodness I did this—my original plan was way too small!
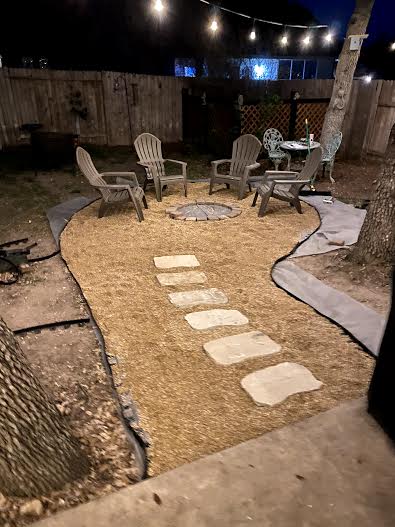
$19 plastic chairs? Yes please!
My husband figured out how to make this pit for about $85. That was substantially better than the fire pit “kits” we found online for about $200. Nope! You can find the supplies we used here, here, here, here, and here.
3. Repurpose things you already have / Get creative with spray paint
We had a random assortment of things in the backyard before we started this project, and I wanted to find a way to repurpose or revamp what we already had to save some $$$. The first challenge was our shed. It came with the house and was in bad shape. It was also…ugly (go back up and look at the picture with my dog—it wasn’t a cute shed). Although I didn’t necessarily need to jazz up the shed – it made a huge difference. I used the leftover stain from the playhouse (below), and good ‘ol Rustoleum.
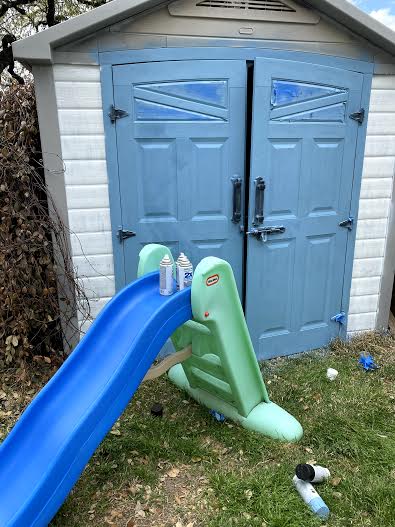
This is about 30% into the project when I decided this was a very bad idea and my arm was really tired but I obviously couldn’t leave this thing like this so… onward.
Finished product! Although hard to see…finished painting, added some boxwood on the side, MUCH better!
My second project was a patio dining set I got as a hand-me-down from my mom. It wasn’t the cutest set, but dang—it had the most comfortable chairs. Also, it was free. It had these ugly red lines down the chairs which really weren’t coordinating with my aesthetic (I say that somewhat sarcastically). I debated selling them on Facebook Marketplace and trying to find something else…but then my neighbor asked, “Can you paint them?” WELL, what do I have to lose? Enter: my handy dandy Rustoleum. AND IT WORKED.
Finished painting the chairs and cleaning the table! Final result—like new! To date, no one has stood up with discolored thighs because of my spray paint. Checking this off as a win.
If you’ve been considering spray painting some of your stuff to give it new life, this is your sign to do so. I also spray painted some plastic side tables and an old bench with leftover spray paint and I regret nothing.
4. Bring Pinterest ideas to life
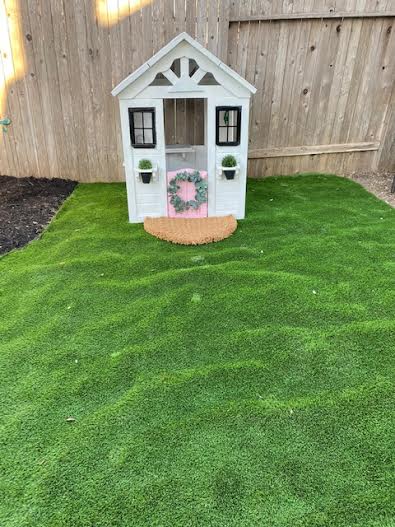
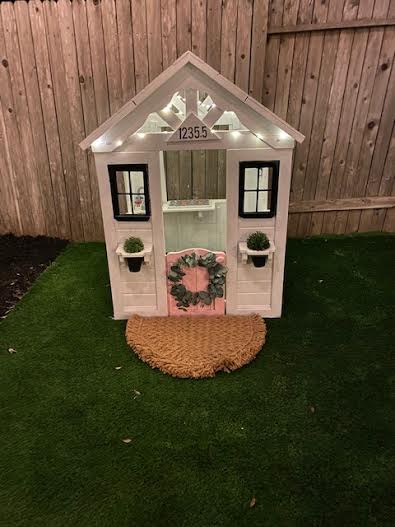
While perusing Pinterest I found this darling tutorial for a backyard playhouse. I have two young girls, and felt like this would be the PERFECT addition to the yard (search your kids’ ages with backyard on Pinterest and you will find TONS of ideas). One tutorial was particularly helpful – here (pro tip – the material of the house will dictate what type of paint/spray you need—do your research!). I decided I’d give it a try and y’all, IT TURNED OUT SO GOOD. I purchased this playhouse on super sale (check Facebook Marketplace for even better bargains—you’re refinishing it anyway!), and after researching paint and materials, used this paint, and this spray paint to make this playhouse pop. Add some Target twinkle lights & decor—DONE!
I should add that I stripped the screwdriver I used to put this together because I’m scared of a drill and still got the house assembled AND painted. I was sore for a solid 10 days but it was still worth it. Instructions said assembly time 2 hours. It took me 10. Whatever.
5. Call in the contractors for things you absolutely cannot do by yourself
My husband and I were both pretty proud of ourselves for how hard we’d worked in the backyard, but something was missing. We had no place to sit and enjoy the yard other than a tiny (emphasis on tiny) concrete slab—you know, the builder-grade rectangular piece that comes with the house. With the cost of lumber, after getting a few quotes for a deck we figured that’s out of the question for now. So, we started exploring concrete. A slab was about 30% of the price of decking for the same space. For us, it was worth it to pay a professional. Took about two days, and we’ve enjoyed it everyday since.
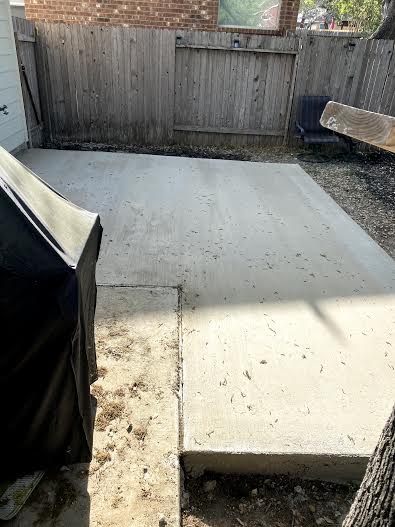
The hardest part of the concrete process was waiting for the slab to cure so I could decorate!
Finally, our last project was to sod the rest of the yard. That initial quote was way too high, but after all the work we put in, we were able to sod the rest of the yard for a third of the original price.
Mud-pit be gone!
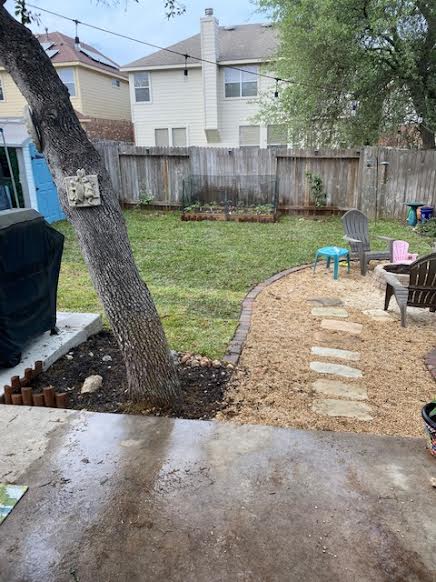
She pretty.
Obviously, we had to spend some money to get the final product, but doing the majority on our own saved a ton of money. Spread the project out, or tackle it all at once, it is so. worth. it.
So get out there and DIY! I can’t wait to see it.


.)