


All parents have experienced the cardboard box phenomenon. You carefully shop for the perfect birthday gift for your little one. Sure it’s a bit expensive, but the look of joy on your child’s face–priceless. Of course it’s also huge so you purchase the world’s largest gift bag to put it in. Junior’s eyes light up when he sees your awesomely ginormous present. It’s a struggle to open, but once the toy’s been freed from its cardboard cage, you’re getting “best mom ever” hugs and off to the kitchen to toast to your parental prowess. There’s no doubt that kiddo is going to be playing with the over-priced monstrosity for hours. When you walk by five minutes later, however, you see something verrrrrry interesting.
New shiny toy is laying discarded on the floor while your child is off in playland with the cardboard box. We’re all aware of the important role playing has in child development. Sometimes the trendy, flashy toys our kids claim to want don’t have the staying power to foster creative play. Want to capitalize on your kid’s love of boxes and creativity? Try sensory bins! I’ll admit that it took awhile for me to fall in love with sensory bins. They seemed like too much work and too much mess. Were they even worth it? Yes. Totally.
Why I Love Sensory Bins
I discovered that not all sensory bins require prep-work ahead of time and the ones that do aren’t so bad. Once you collect a few sensory bin tools/toys, you can re-use them for tons of different activities. I’m not going to promise that every kid will play with every sensory bin for hours. However there are a few things I have grown to really appreciate about sensory bins:
- They are the perfect activity for intentional interaction with your kids–something I’m passionate about because of my experiences with my son.
- If you’re looking to incorporate specific goals for language development, fine motor skills, or really ANYTHING at all, sensory bins are an engaging way to do so.
- They’re an alternative to screen time. Something I’m a little more prone to as we’ve found ourselves at home for extended periods of time.
- Sensory bins are totally customizable. You can make it cheap and simple or fancy and expensive. Neat or messy. Indoor or outdoor. Truck themed or princess themed. Numbers or letters.
- A sensory bin is a good transition activity. Sometimes I say, “It’s time to play outside,” only to be met with resistance. But if I say, “Come outside and do this activity with me,” I’m almost guaranteed some enthusiasm. I do the activity for ten minutes and then return to my house to keep hustling through my daily to-do’s. Sometimes my kids continue to play with the sensory bin for the next 35 minutes. Sometimes they only stick with it for 5 before getting up to do something else. Either way they stay outside to play much longer and with much less whining.
Ten Sensory Bins To Keep Kids Playing
If you’re ready to give sensory bins a try, keep reading! You’ll find ten different ones to choose from. Each has a list of materials as well as brief instructions. As I said before, though, you can modify sensory bins to be whatever you want. Happy playing!
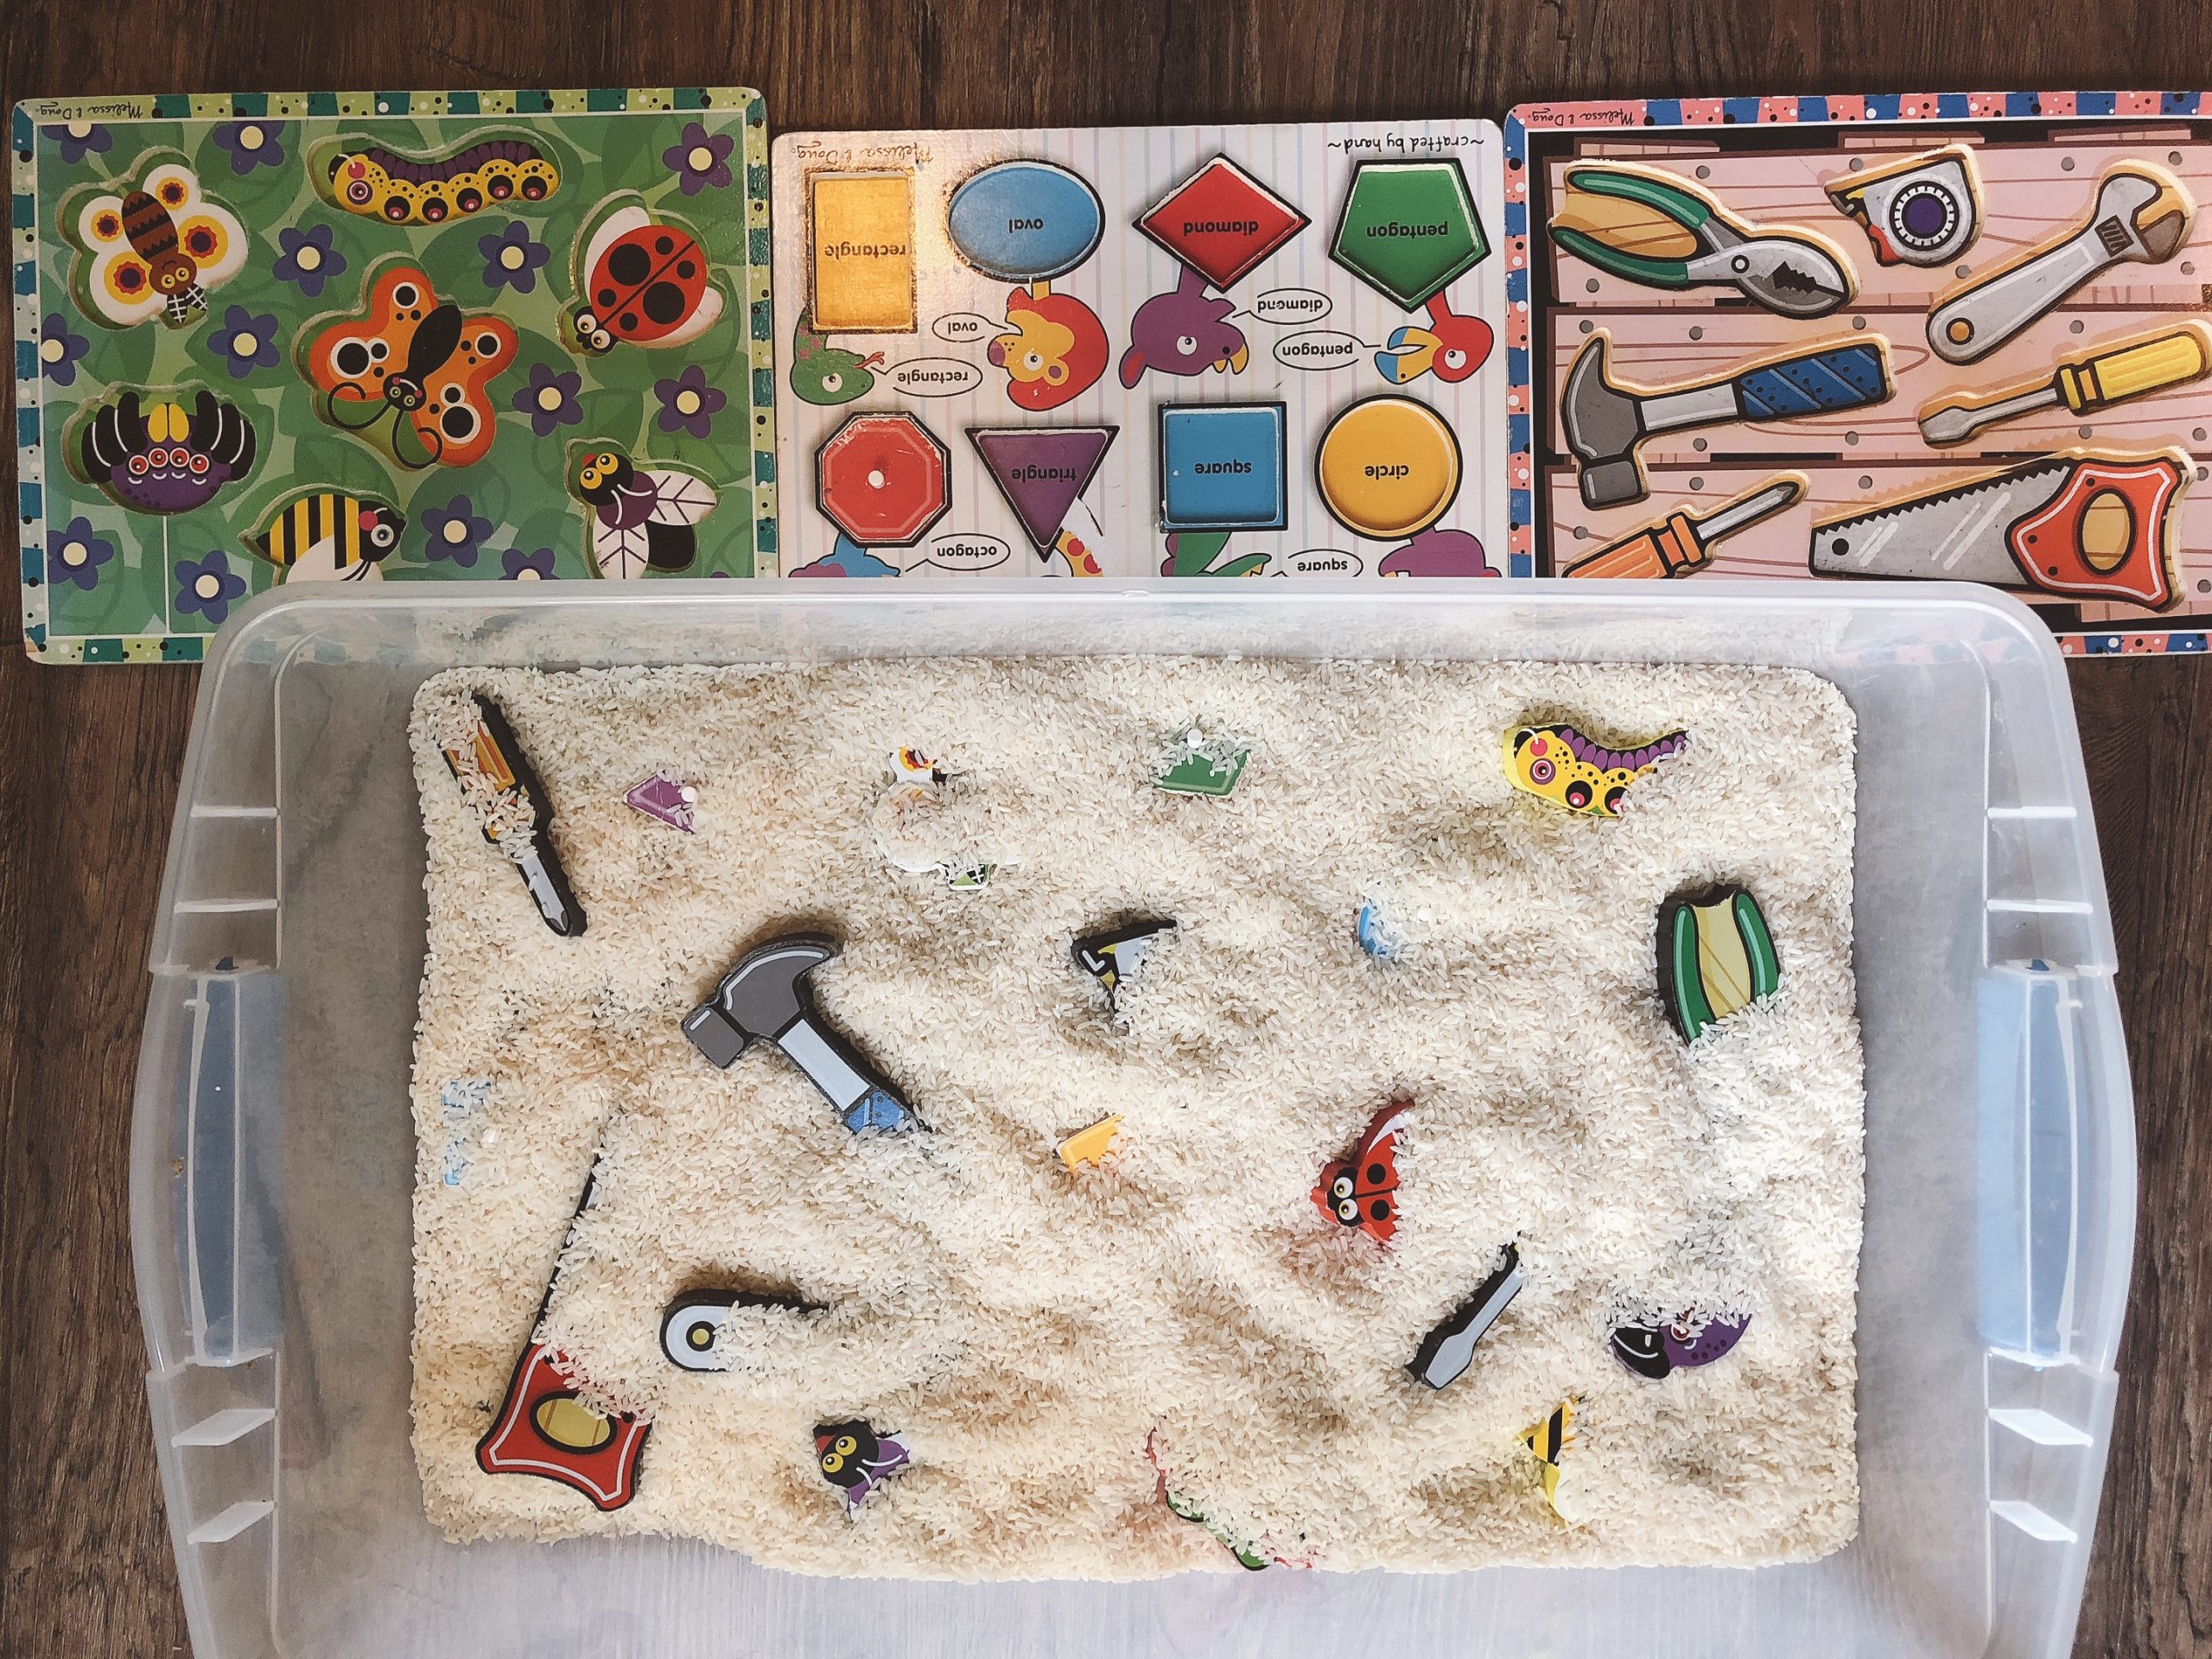
Rice Puzzle Hunt
Materials: bin, rice, 1-4 puzzles (the chunky wooden kind), scoops/spoons/spatulas
Directions: Dump rice into bin. Hide all the puzzle pieces you’d like to use in the rice. For younger kids one puzzle will work, but as they get older you can hide pieces from multiple puzzles. Then guide your child to use whatever tools they’d like to hunt for the puzzle pieces and complete their puzzles. Alternatively you can hide ABCs or numbers. Rice bins are very customizable for pretty much any activity or theme.
Dry Beans Scoop and Transfer
Materials: bin, dry beans (I used pinto but any kind will do), large bowl, 4-6 small bowls/cups, large spoon or scoop (I use a set of plastic measuring cups from the dollar store)
Directions: Place the large bowl in the bin, close to either the right or left side. On the opposite side line up the small bowls or cups. Pour the dry beans into the large bowl. Show your little one how to scoop the beans from the large bowl and pour them into one of the small bowls. Encourage them to do this until all the beans are transferred to the small bowls. Some fun variations of this are to put a tiny plastic animal or figurine in each of the small bowls and tell your kiddo to “hide” the animals.
Sometimes I dump a bag of beans in the bin and just toss in random kitchen items: measuring cups, bowls, spoons, funnels, cups, etc. Then I let my kids get creative.
Jello Ocean Animals
Materials: bin (slightly smaller unless you want to make A LOT of jello), blue jello mix, plastic ocean animals, spoons/scoops/sand shovels
Directions: This requires set up in advance. Place the plastic ocean animals in your bin. Mix up the jello ingredients and pour it over the ocean animals. Leave in the fridge to set for the appropriate amount of time. Once jello is set, take your kids outside for an ocean-themed sensory experience. I do recommend being outdoors in play clothes as blue jello is…well…blue. This is a great one for discussing the texture of the jello and how the ocean animals swim/jump/dive.
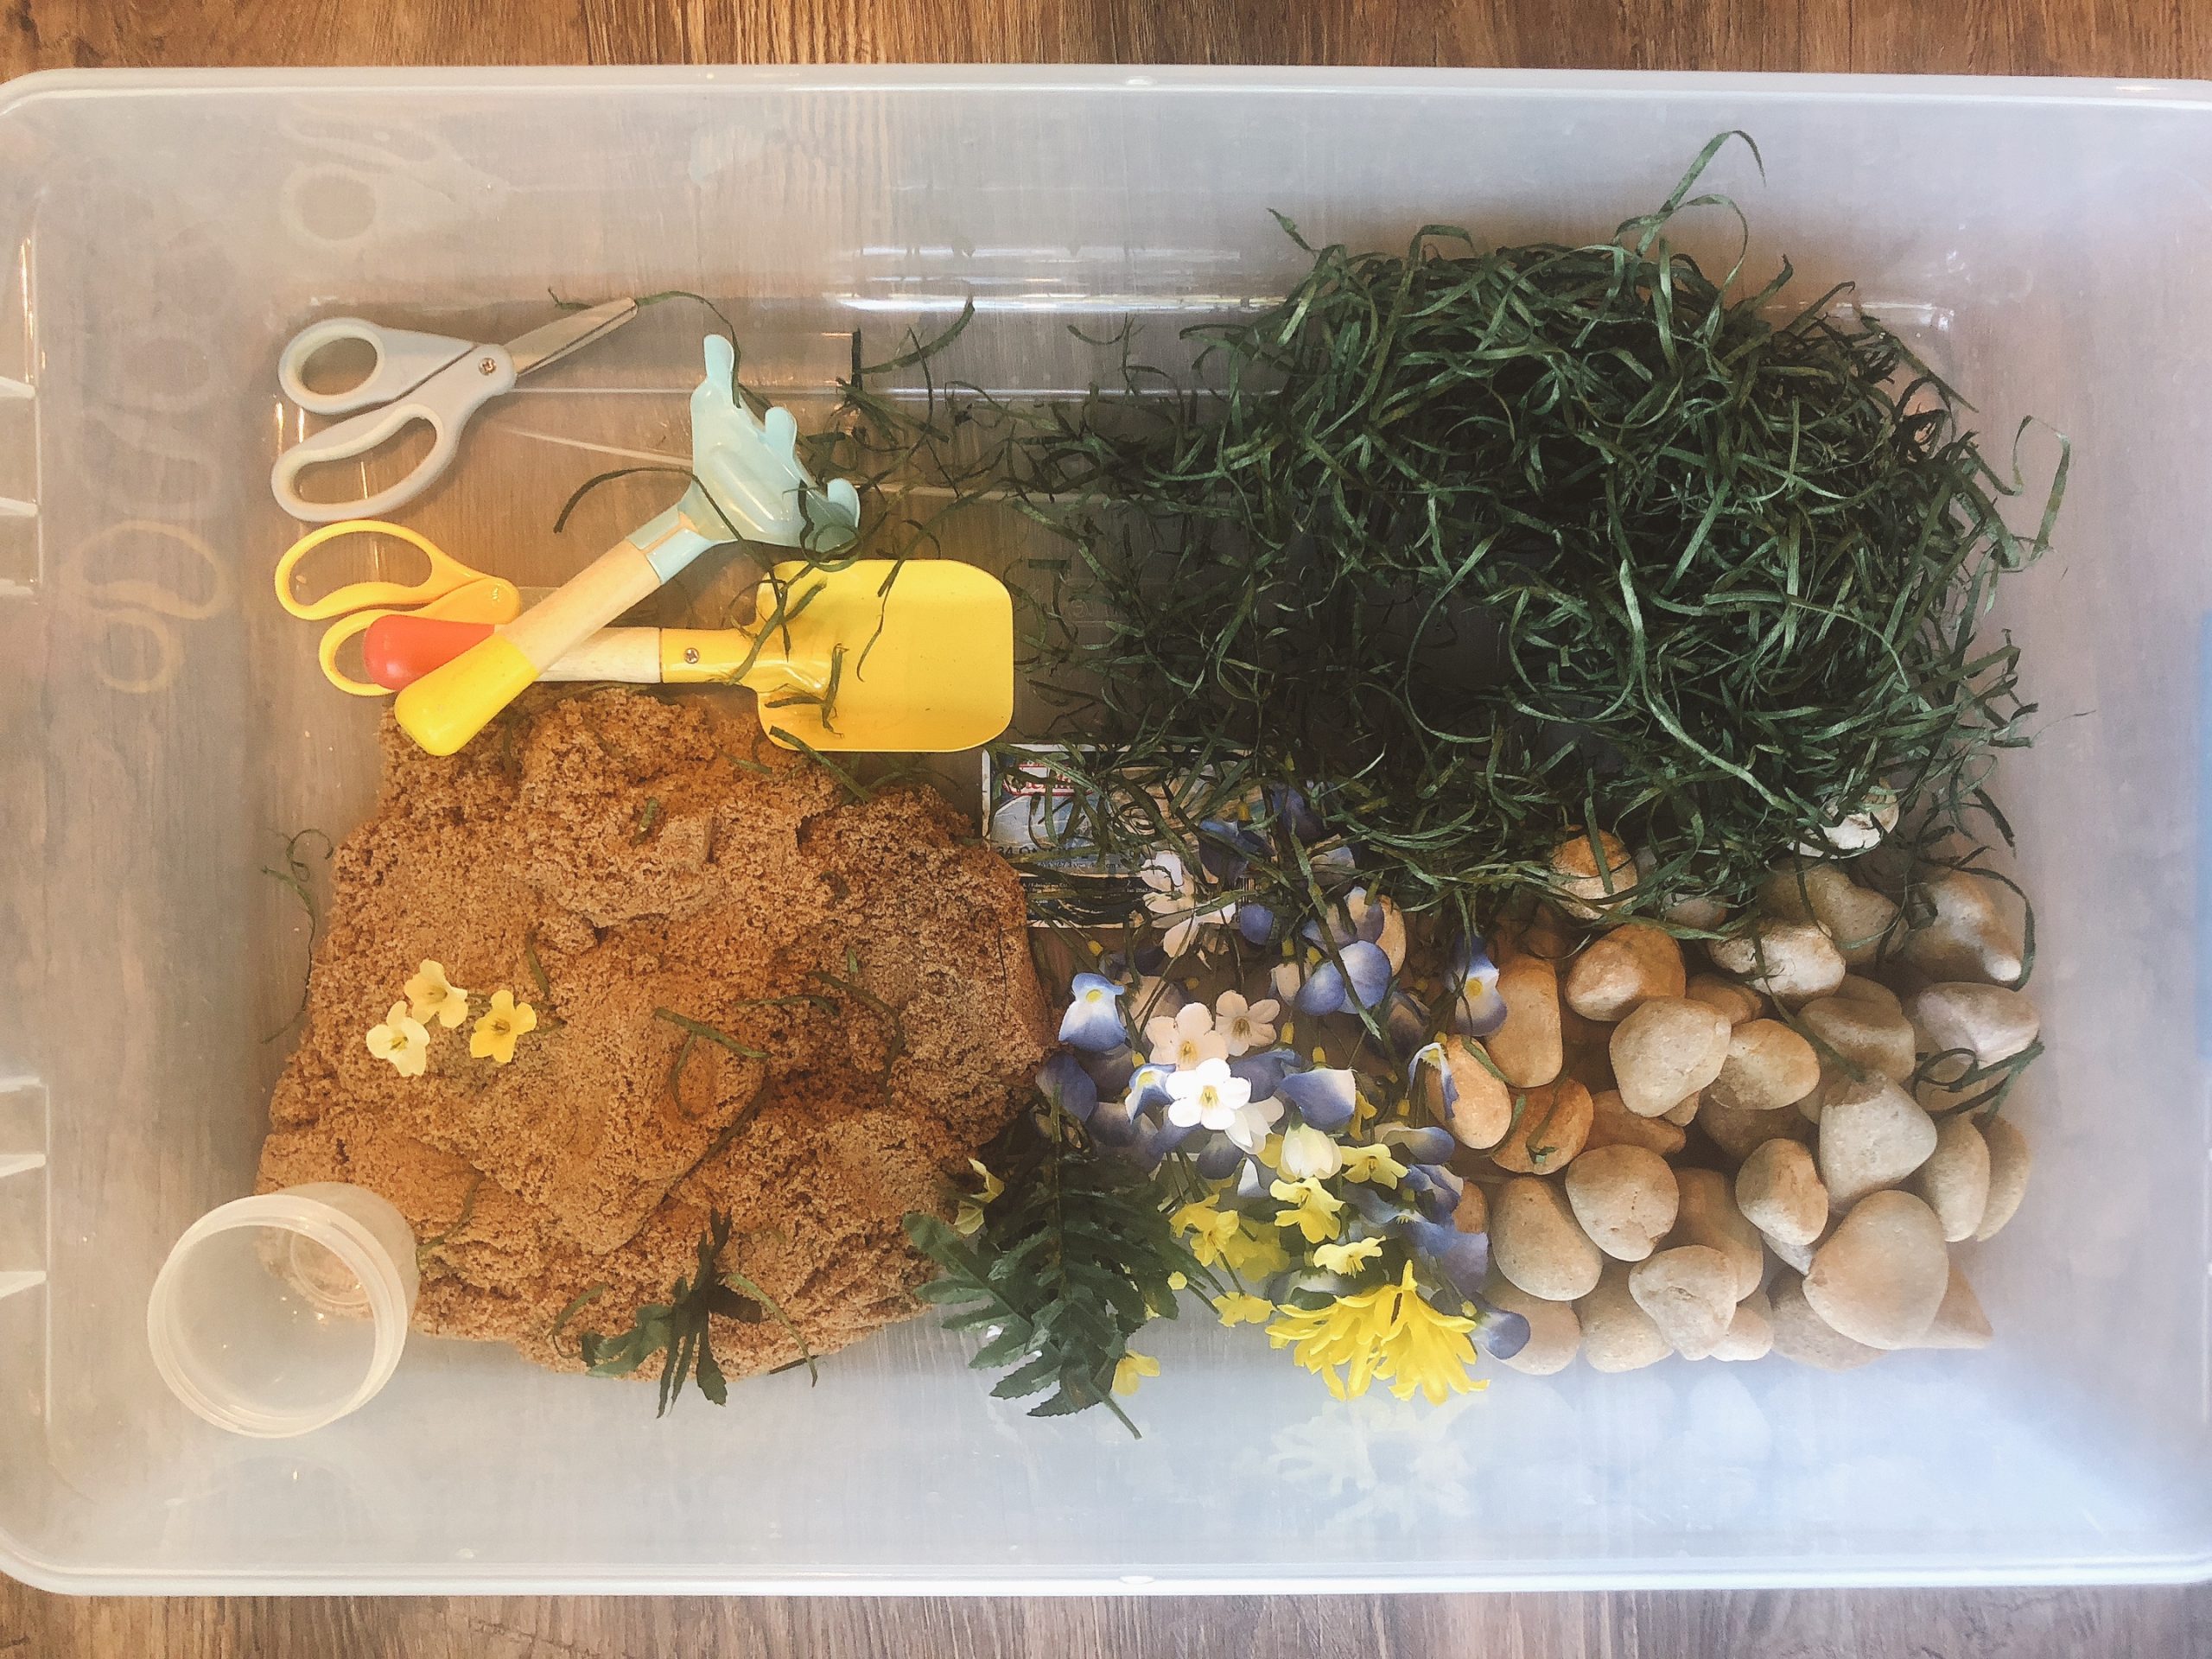
Garden Box
Materials: bin, kinetic sand, fake flowers, small “flower pots” (any small container), shovel/any other small garden tool, fake grass, rocks
Directions: If you bought fake florals in a bouquet (like me), cut off as many flowers as you’d like to give your child. Add each material to the box so it looks somewhat garden-esque. Don’t get too creative–that’s your kid’s job. The kinetic sand is “dirt” without the mess, but plain old actual dirt would also work. Show your child how they can dig the dirt, scoop it into a flower pot, and plant a flower. Work together to create a rock garden and a patch of grass. Let your little one dig and rake to her heart’s content. You could dress this up by making it a “fairy garden” or a “dinosaur garden.” Or just leave it as a plain old flower garden! If you fall in love with kinetic sand as I have, you may also want to consider a beach themed sensory box (sea shells/small sand toys) and an ice cream shoppe sensory bin (ice cream scoops/bowls).
Sonic Ice Bin
Materials: bin or foam cooler, bag of Sonic ice, cups/scoop/spoons/bowls, child-safe mallet/hammer, water dyed with food coloring (optional), kids’ paint (optional), Frozen figurines (optional)
Directions: Dump bag of ice into cooler or bin. There are a few different options from here. Keep it simple and just let your kid play with the ice and different kitchen items. Or put some water in another container and dye it with food coloring. Ask your child to scoop/transfer the ice to the container of water. Hide their favorite figurines in the ice (Frozen characters would be especially appropriate). Give them a child-safe mallet/hammer and let them smash the ice. Put primary colors of kids’ paint into squirt bottles (like for ketchup) and let your kids paint the ice (maybe put some plastic under their workspace for this).
Bubbles
Materials: bin, tear-free kids’ soap, hand crank egg beater, whisk, turkey baster, liquid measuring cups, toy tea pot, various cups/bottles, food coloring (optional)
Directions: Put water in the bin. Add several squirts of kid soap. Show your child how using the whisk or egg beaters will make bubbles in the water. All the other objects mentioned make for fun water play. The activity may turn into a Pouring Station of sorts and that’s great. If you want to up the visual experience, dye the water using food coloring. Use different colors in different containers if you’re feeling real fancy!
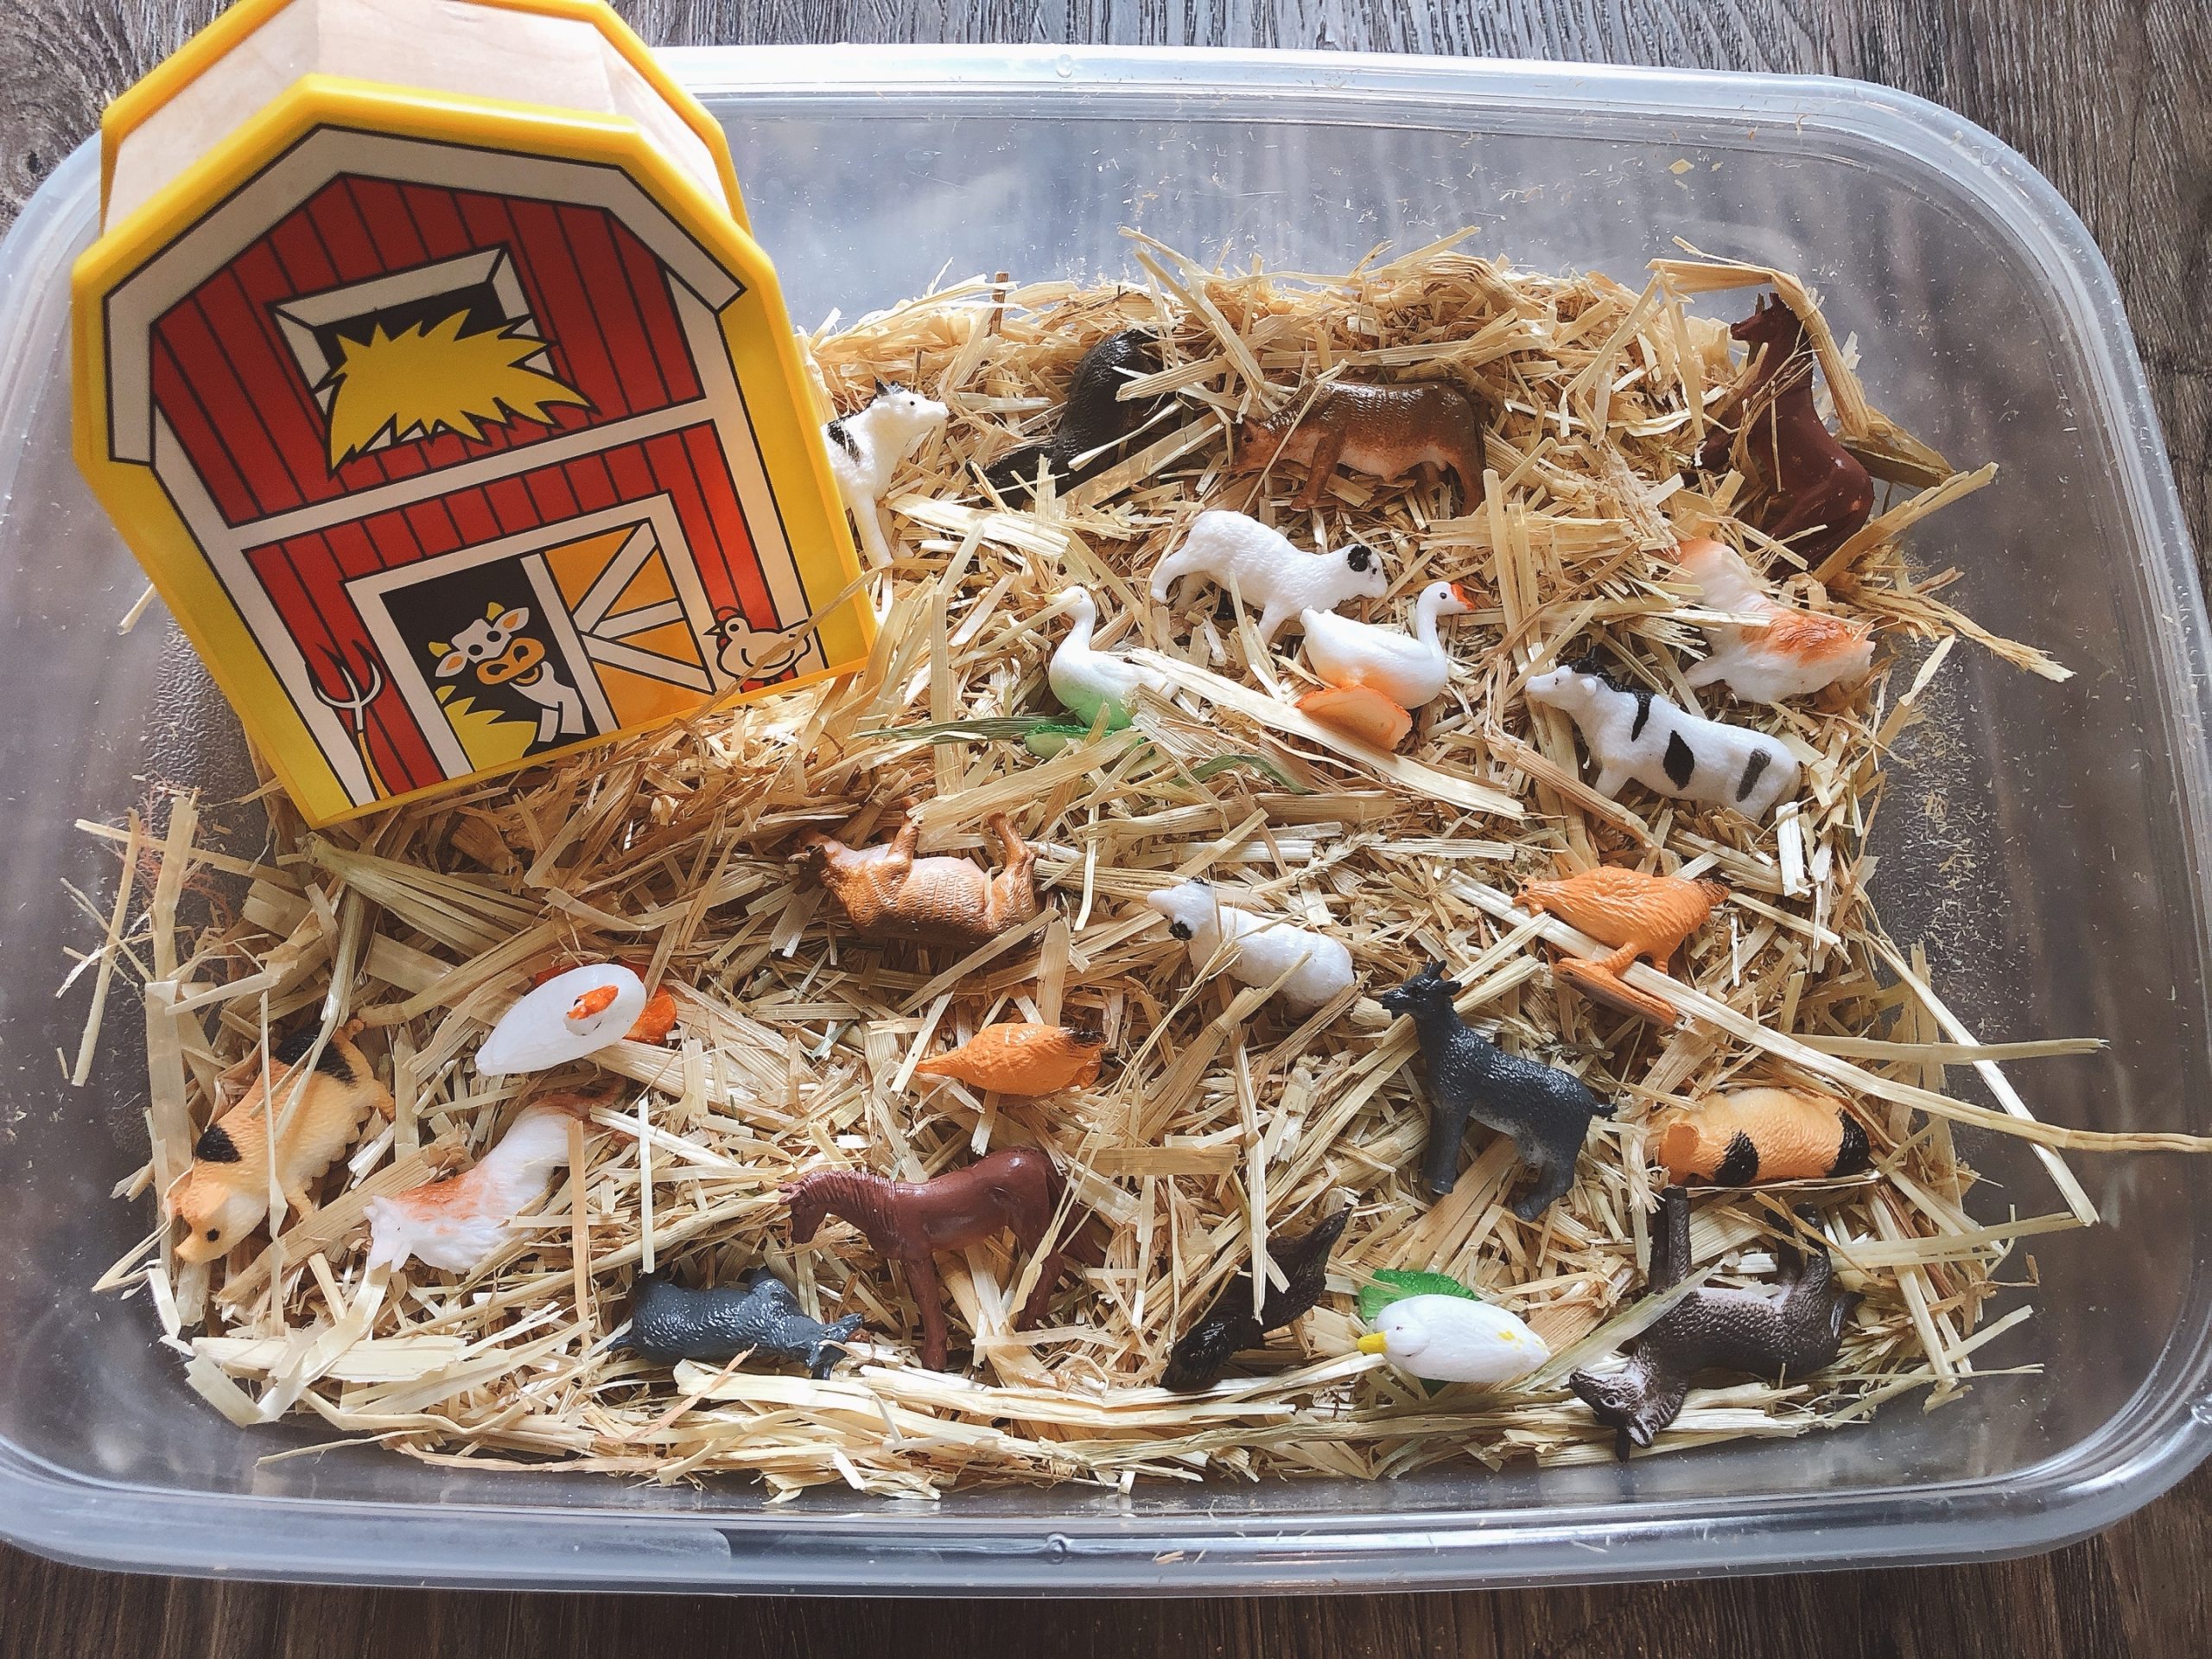
Farm Bin
Materials: bin, plastic farm animals/barn, hay
Directions: Put hay in the bin first. Then add your farm animals. Ta-da! Farm Sensory Bin is complete. Sing Old McDonald, practice making animal sounds, talk about what different animals look like or how a farmer may care for them. Alternatively, you could hide the farm animals in the hay and challenge your son or daughter to find them, pick them up with tongs, and place them in the “barn” for the night.
Cooked Rainbow Pasta
Materials: bin, pasta of choice, food coloring, gallon ziploc bags, food coloring, vegetable oil, scissors (optional), tongs (optional), kitchen tools (optional)
Directions: Cook pasta and drain when it is slightly underdone. This will allow the pasta to hold up a bit better during play. Run the pasta under cool water. Then separate the pasta out into gallon ziploc bags (one bag for each color). In each bag put one drop of food coloring and one drop of vegetable oil. Seal the bag and squish the pasta around until it’s dyed its new color. Kids love helping with this step! Let the pasta sit for 10-15 minutes before rinsing and putting into the bin. Younger kids will enjoy grabbing, pulling, and tasting the rainbow pasta. Older kiddos can practice their cutting skills on rainbow spaghetti, use tongs to pick it up, or play with other kitchen tools in the bin.
Pom Pom Color Sorting
Materials: bin, pom poms, small bowls/muffin tin/veggie tray/any container with some compartments, large plastic tweezers and/or spoon
Directions: Are we even San Antonio parents if we don’t do something with pom poms?! The prep for this one is gloriously simple. Dump all the pom poms in the bin and add whatever tools you’re using. Sometimes I cut out a piece of paper to tape into the color sorting container to show where each color goes. Not totally necessary though. Show your kiddo how to put each color in the correct spot. Then turn them loose for some pom pom magic. Pom poms can also be great fun for scooping and pouring (use the same stuff you would for water or beans). I’ve even seen really creative mamas freeze the pom poms for a twist on the ice sensory bin. Or pour them into a bin with water for a “pom pom” soup sensory bin (apparently you can dry them afterwards; who knew?!).
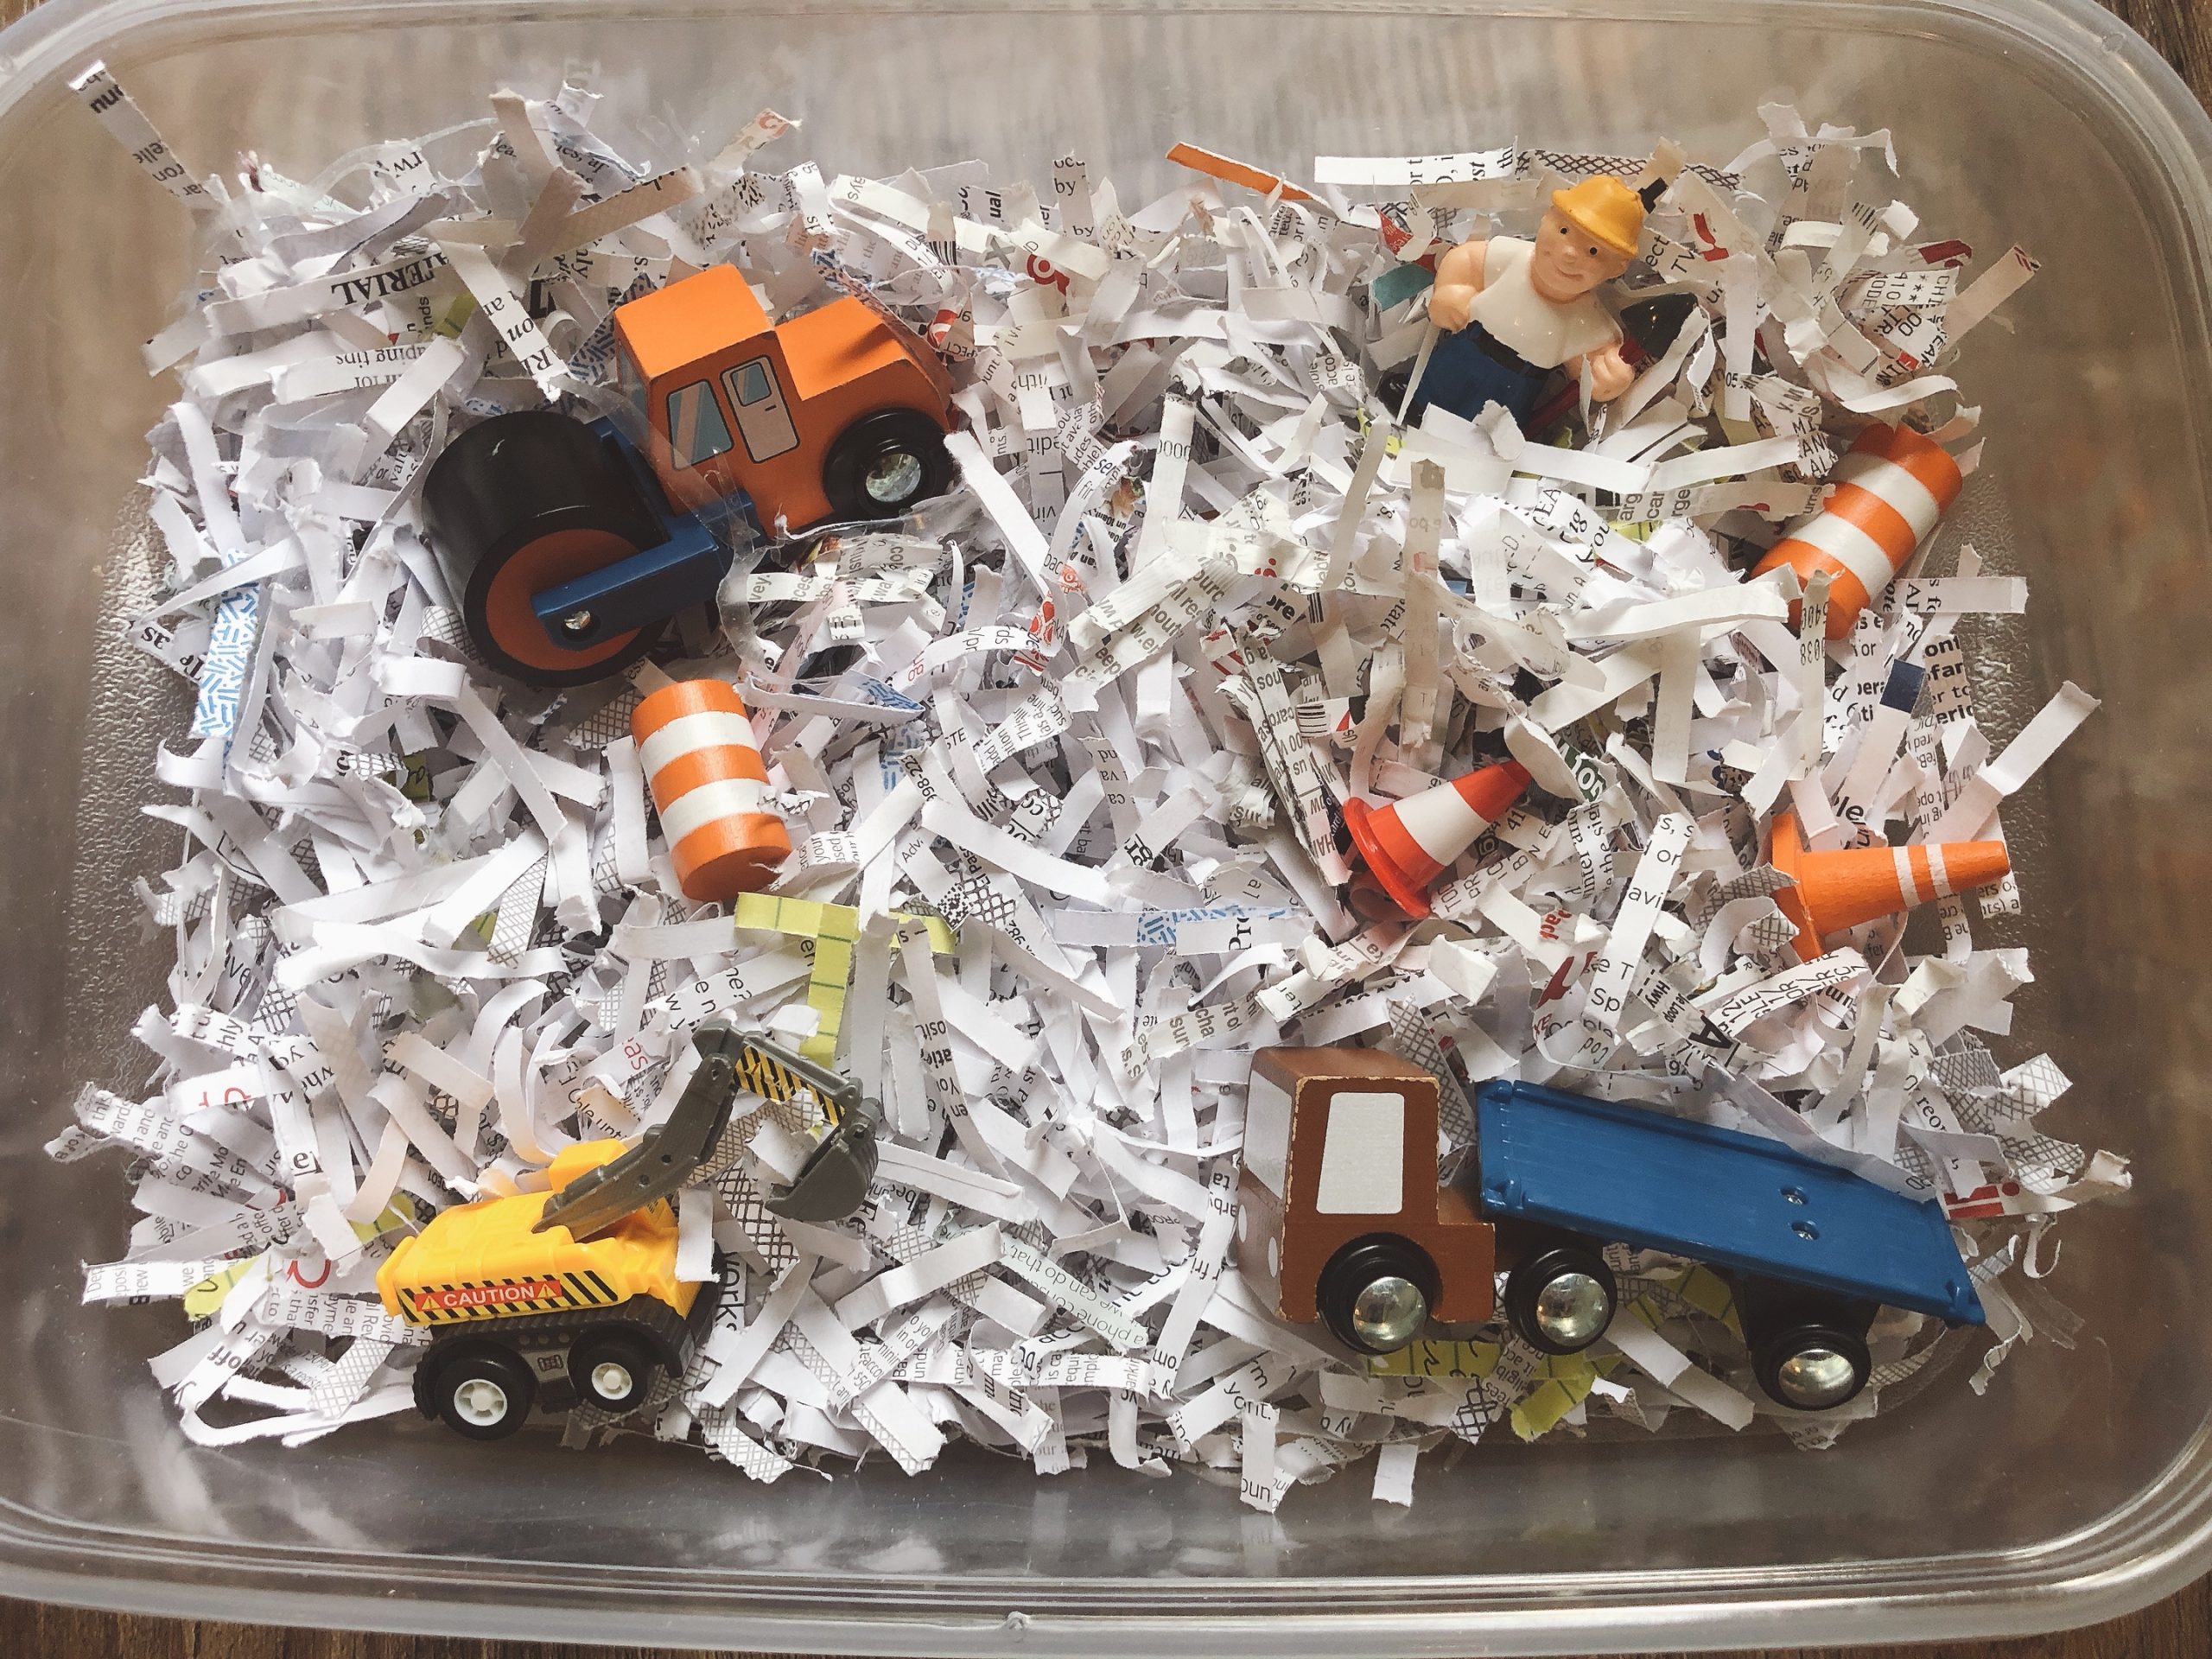
Shredded Paper Construction Site
Materials: bin or small plastic baby pool, shredded paper or confetti, toy construction vehicles
Directions: Dump the paper into the small plastic pool (if you’re using construction vehicles on the larger side, this will be preferable). Drive the vehicles around bulldozing, digging, and making piles of paper. This is very customizable. You can do anything with shredded paper.


