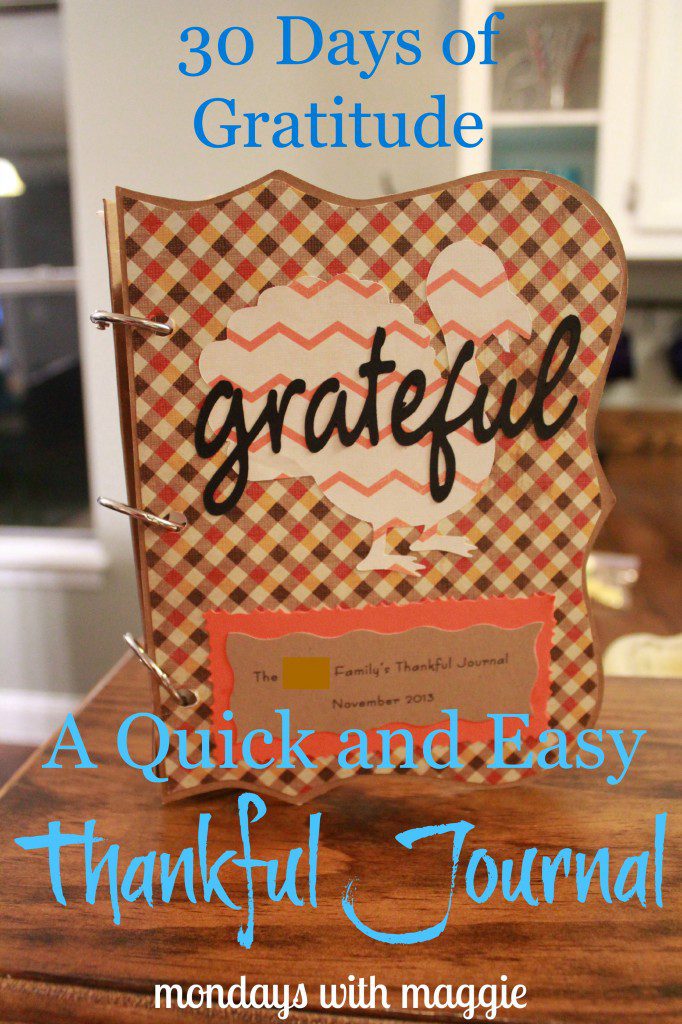
 My mom, like many of us mamas, always had lofty ambitions for “holiday memories”. One year she
 made asked us, right there next to the half-eaten plate of pumpkin pie, to write down the thing for which we were most thankful. My 17-year-old self found this wildly embarrassing and not a little ridiculous. I wrote something horribly juvenile and indicative of the self-enamored teenager I was about being thankful for being so awesome and threw the piece of paper in the bag “to be read in a few years”, according to good ol’ Brilliant Ideas Mom. Cut to several years later when I, as a freshly wedded adult, sit down to enjoy turkey and lo and behold, Mom busts out those old Thankful cards. The re-reading of these little gems did at least produce laughter around the holiday table, but I remember being sad that I didn’t have the wherewithal to have written something more serious when I had the chance – I would have like seeing for what 17-year-old Maggie was really thankful. And even better… what if I had known for what 5- or 9- or 14-year-old Maggie was feeling gratitude?!
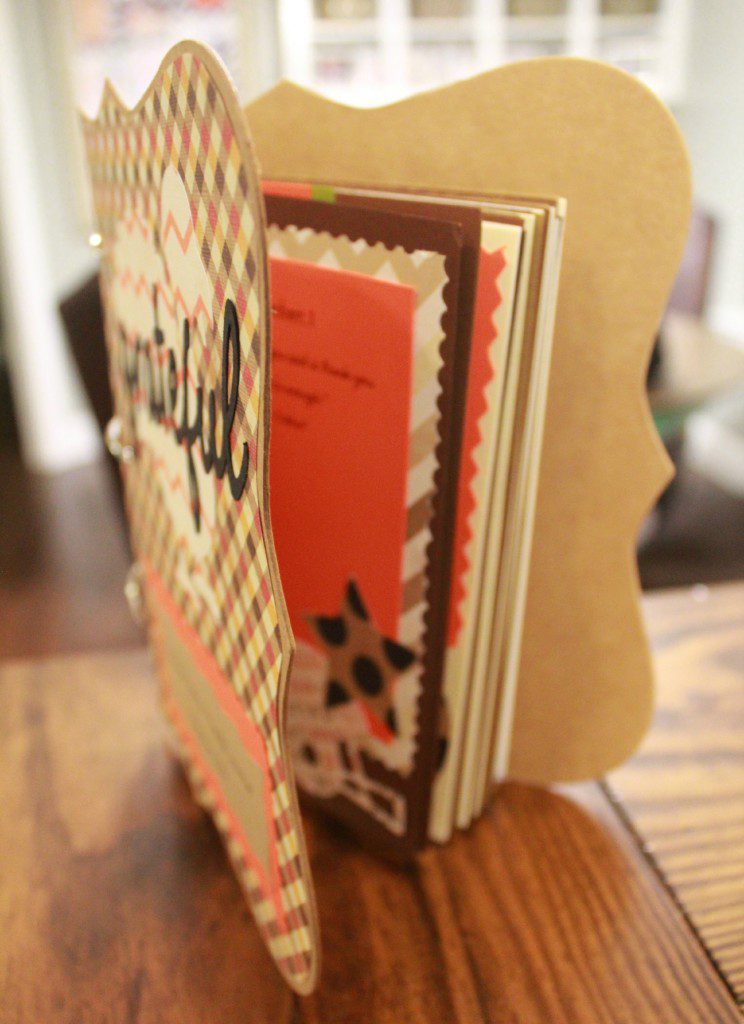
Armed with this notion, and having the strong desire to establish children with grateful hearts, I decided to take the 30 days of November – although a full year of 365 days would be really awesome! – and create a Thankful Journal. I had seen an idea on Pinterest not long ago that suggested making garland with thirty leaves and writing something you’re thankful for on each leaf, but it made me sad to think of throwing those leaves away come December 1st. Plus, we usually start unpacking the red and green decor right after Thanksgiving, leaving little room for our brown and gold garland. With a journal, I can chronicle our gratitude and also have a fun little book with which to reminisce in the future.
The Plan: Put together a hand-made book (easy-style!) and end my day by talking with my children and husband about all the things that happened that day for which we can be grateful.
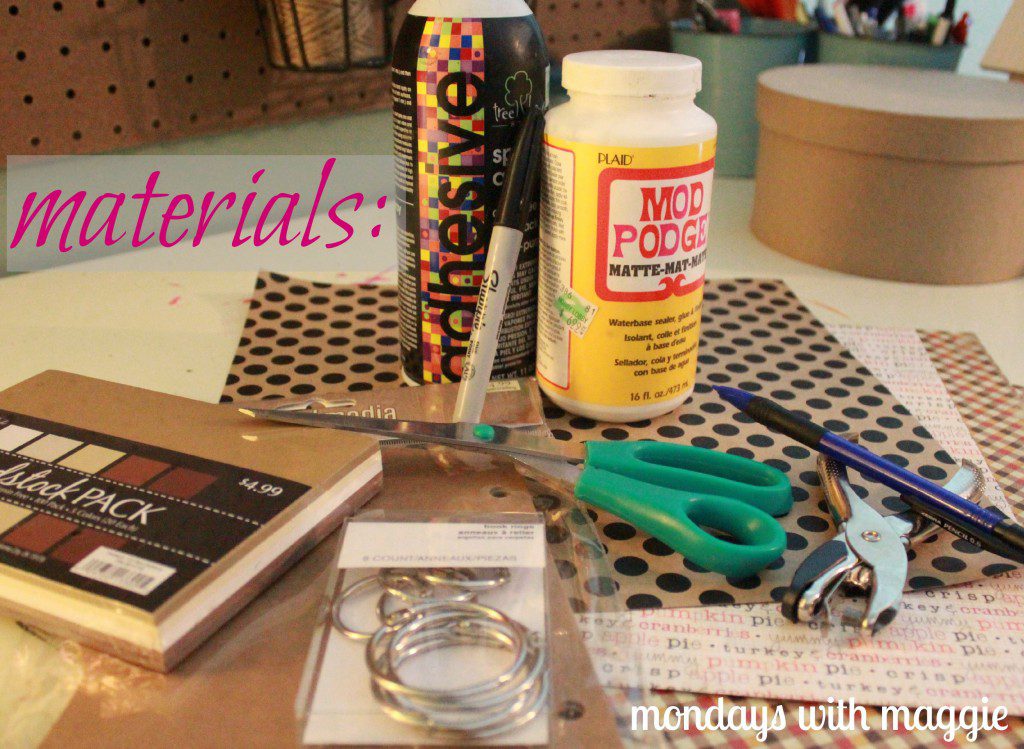
Materials:
Needed ~
- cardstock paper (I chose neutrals in the spirit of “traditional” Fall colors, but feel free to make your bright, mono-tone, or even use patterned paper)
- cardboard “covers” (I bought these NAME because they came pre-hole-punched!)
- markers
- page rings
- hole punch
Optional (for spicing up the cover and/or pages) ~
- decoupage and/or glue
- die-cutting machine or hand-held “punchers”
- various scrapbooking papers
- stickers
- anything else that tickles your fancy (or, if you’re letting your kids decorate the cover, their fancy)… glitter, feathers, pom-pom balls, etc.
How to:
Step 1 — Line it up
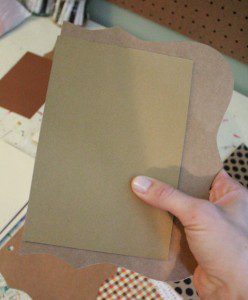 Decide if you want to use both front and back, or just the fronts of the paper, and get out the appropriate amount of paper. I chose to use front-only, to make my book a little thicker, but if you are using scrap paper, or want a smaller book, front/back works fine!
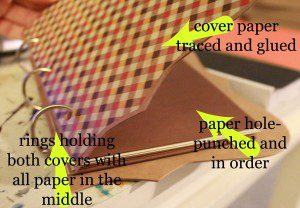
Line 2-3 pages up with your front cover and punch the holes… Then use the paper you just punched to continue to punch holes in the remaining stack of card stock – it’s easier than using the cover each time, in my opinion.
Step 2 — Cut it out
Next, it’s time to decorate that cover! I simply lined up my paper with the cover (making sure you trace with the front of the cover facing down, or towards the paper), traced, and cut. Do the same for the back cover.
Then, I used my die-cutting machine to make my wording and Fall-themed cut outs. No die-cutting machine? Use your own handwriting (cheapest!), get letter stickers (there’s about a million to choose from these days), stamp the letters (if you have all of those shenanigans), and/or buy a design or shape paper punch.
I mentioned earlier that if you want to make this kid-friendly (my two-year-old is still too little to do much more than scribbling, and I was in too big of a hurry to finish this How-To allow my four-year-old to help), allow your kids to decorate the covers to their hearts’ content!
Step 3 — Finish it up
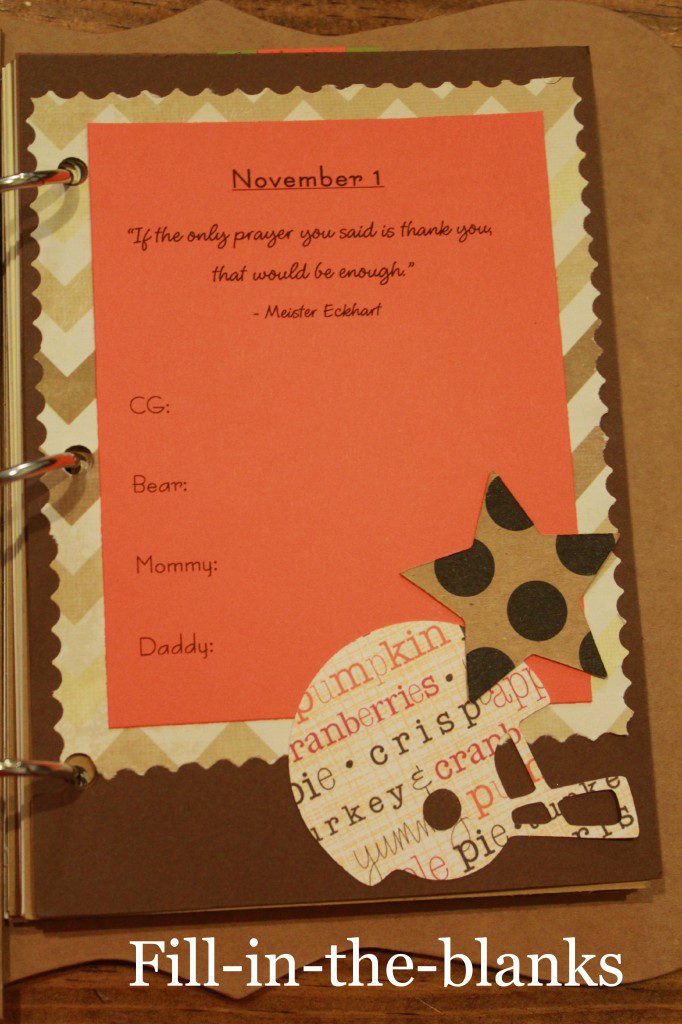
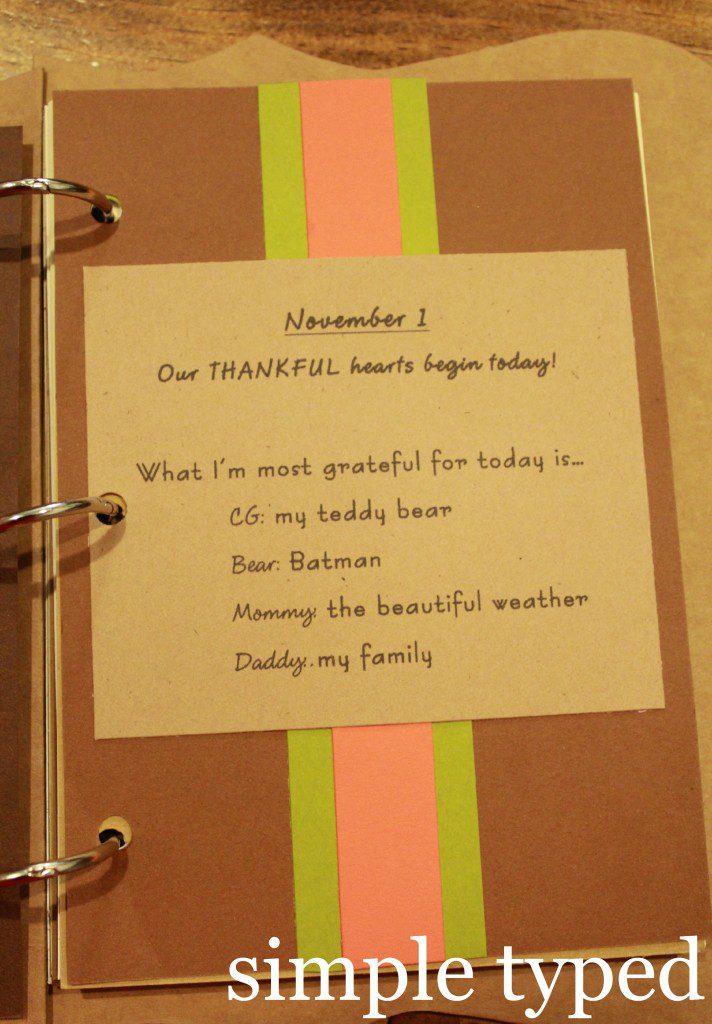
Grab those three rings and hook the paper in with the two covers. After that – wah-lah! – you can start decorating and filling in your entries. There are as many ways to fill in this journal as there are hairs on my head, so do what is BEST for YOU! I used my computer and die-cutting machine to print out and decorate some different options, just to get your brain to start thinking creatively, but hand-written is always a simple option, as is child-decorated (or, if they’re older) written. The great thing about the three-ring book is that the pages snap in and out easily in order to decorate, write on, or fill-in your pages as each day passes. Another option is to write your Gratitudes down on a sticky pad and fill in the actual book each Sunday.
Four options to get your brain-storming started:
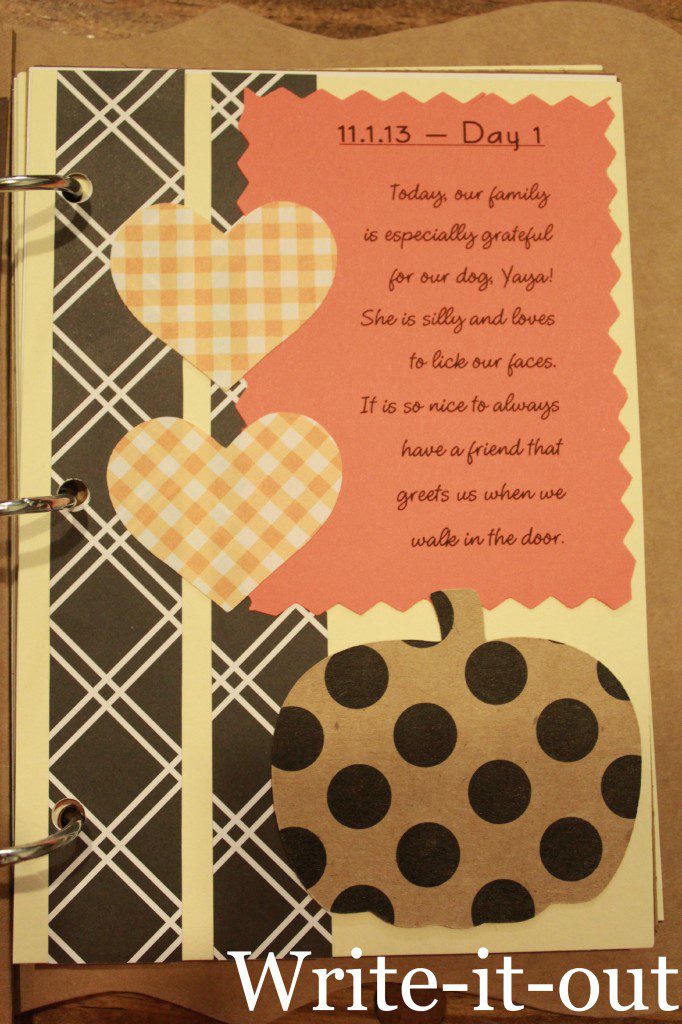
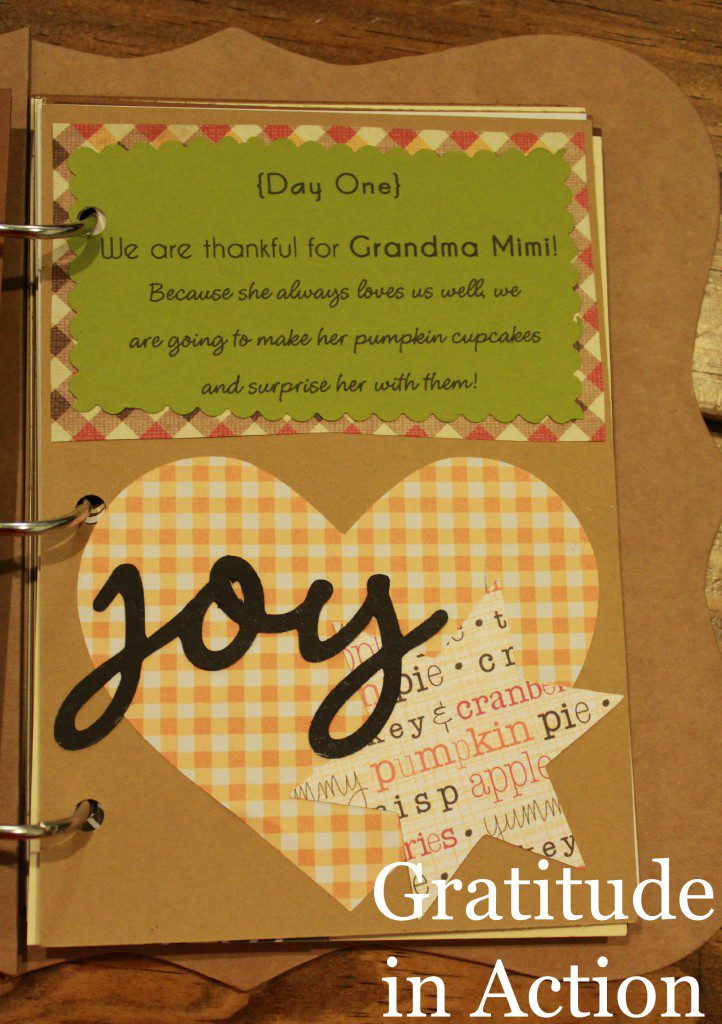
I hope this journal creates a spirit of Thanks Giving in your home and with your kids! How fun to page through this journal next year (or in ten years!) and see how much things have changed. How uplifting to see what made our hearts full then and now…
Cheers to a grateful heart!





“I knew it caused problems,” .
But four laps after
4500 +100 Half ti
Dallas Area Rapid Transit went into the weekend wanting to show that its buses and trains are viable transportation options in what’s long been a car-dependent region. It also carried with it a record of bungled service during major sporting events,Michael Kors.
rmüyorlard ?Baz
L?ngsam inl?rning. Inl?rninssv?righeter ber?r m?nga av oss, och sv?righeterna tar inte slut efter barndomen. Vad vet man om inl?rningssv?righeter? Vilken hj?lp finns att f??
Duncanville,Michael Kors?
I love this idea! I wish I had seen it earlier in the day. Oh well, we’ll have 29 days of gratitude at our house!
29 is totally better than o, Sarah 😉